
Integrations
Integration
From the dashboard, click on the Connect CRM button to go to the Integrations section.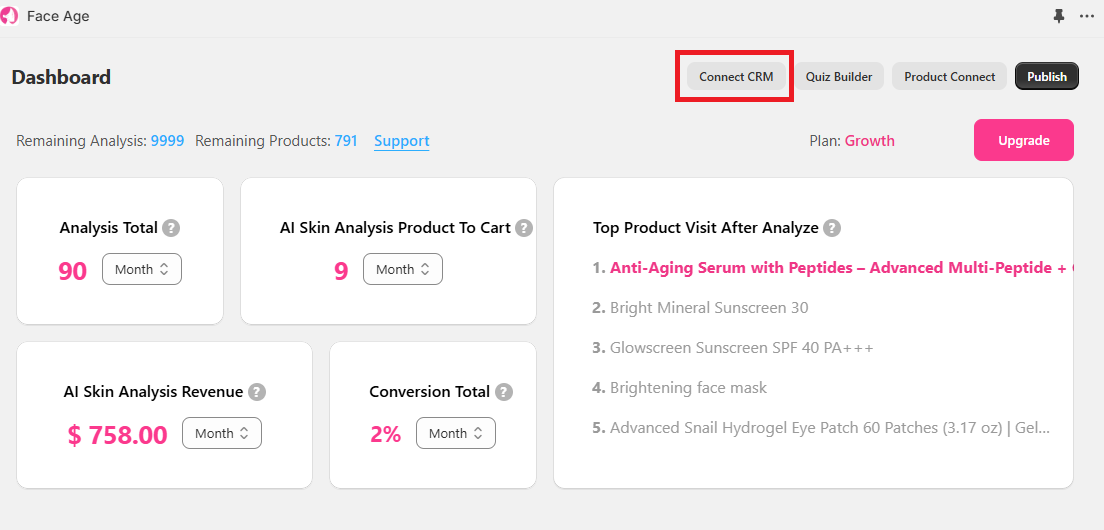
Here, you will see three tabs: Shopify Customers, Klaviyo, and Google Analytics.
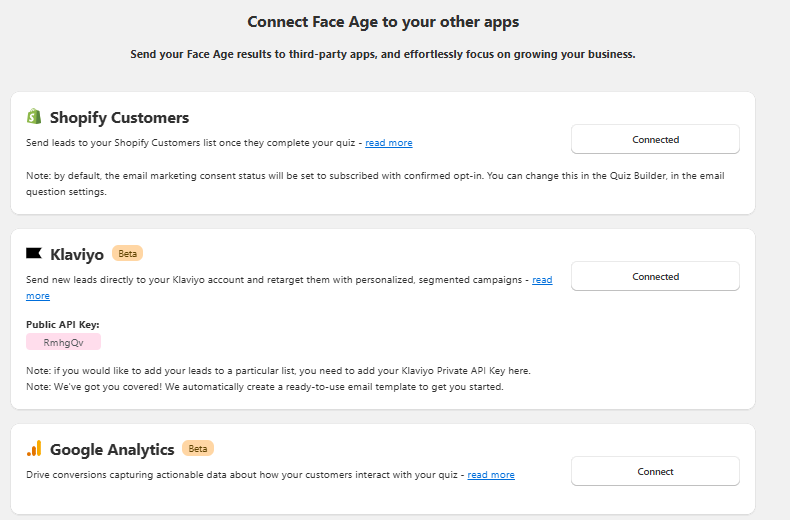
Section 1: Shopify Customers
In the Shopify Customers tab, click the Connect button to establish the connection. This will connect FaceAge to your customer section so you can see the information of people who have entered their email and completed the analysis and send customized emails to these people using the next steps.
In this way, in the Shopify customer section, each registered email will be displayed with skin problem tags.
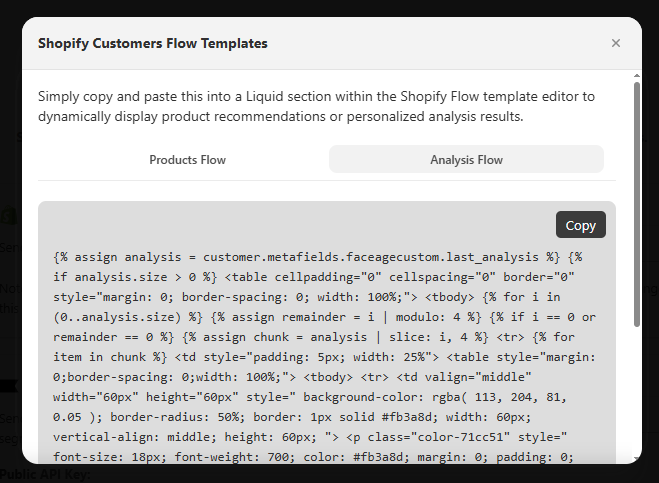
Also, from this section, you can create specific flows with specific Face Age single plates so that when your desired trigger is triggered, an email containing a skin report or product recommendation will be sent to customers. 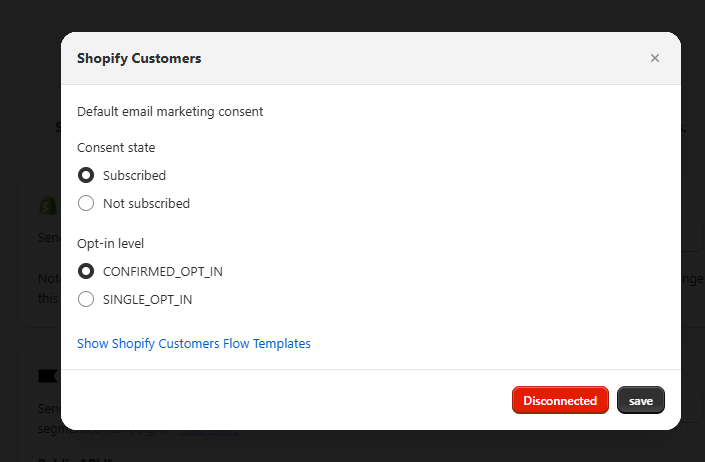
Use the Product Flow tab to send product proposal emails,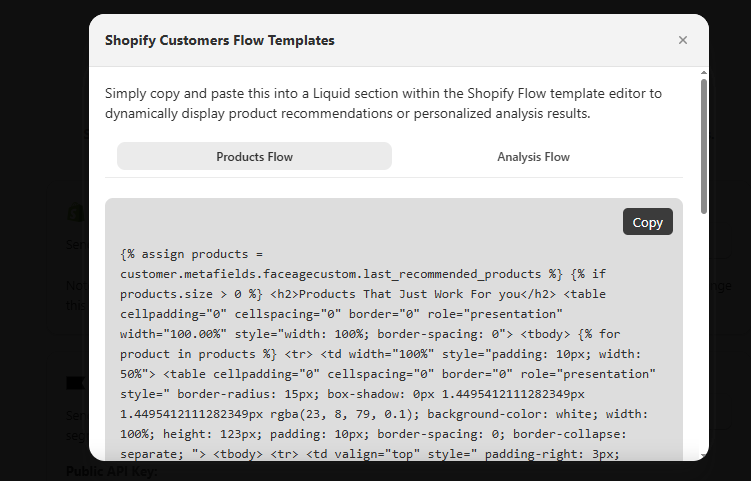
and the Analysis Flow section to send reports.
Section 2: Klaviyo
Step 1: Connect to Klaviyo
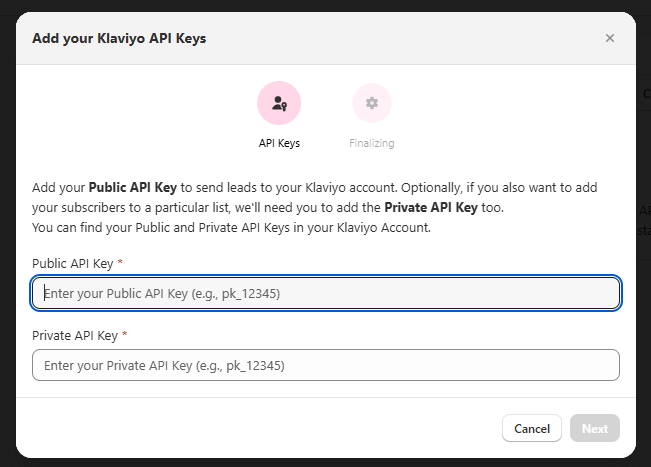
Switch to the Klaviyo tab and click Connect.
A box will appear asking for two API keys.
- Log in to your Klaviyo account.
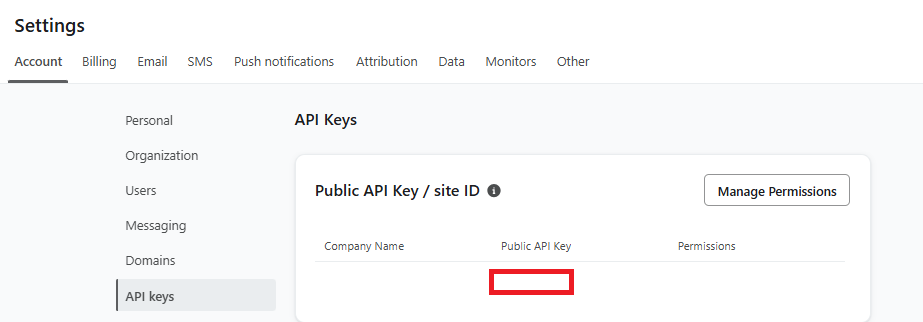
- From the left sidebar, go to Settings (last option).
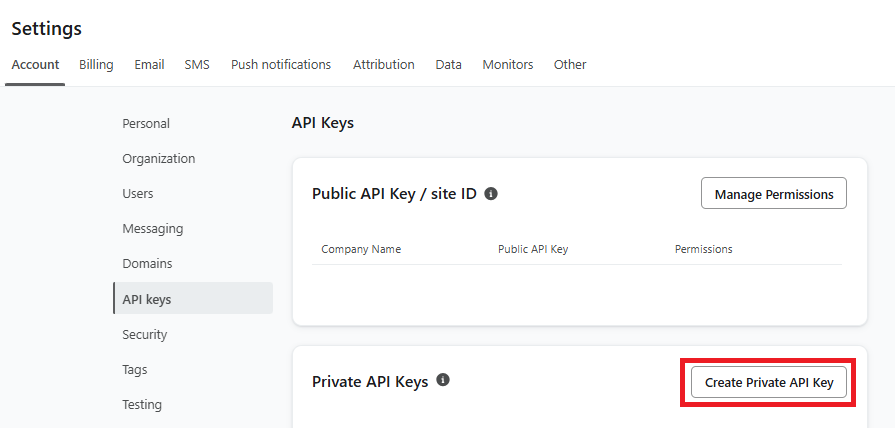
- Under Settings, click API Keys in the left sidebar.
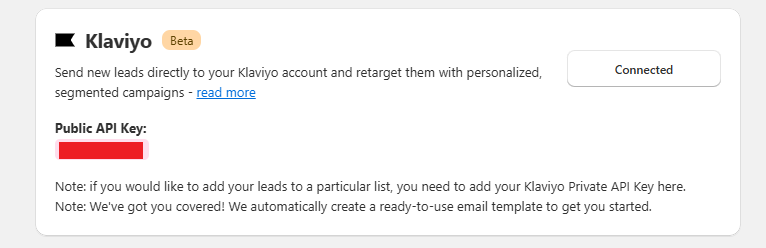
- Copy the Public API Key from the first box and paste it into the corresponding field on the Face Age Shopify page.
- For the Private API Key, go back to Klaviyo and click Create Private API Key.
 Name the key, for example, “Face Age” or any name you prefer.
- Choose Full Access from the options and click Create.
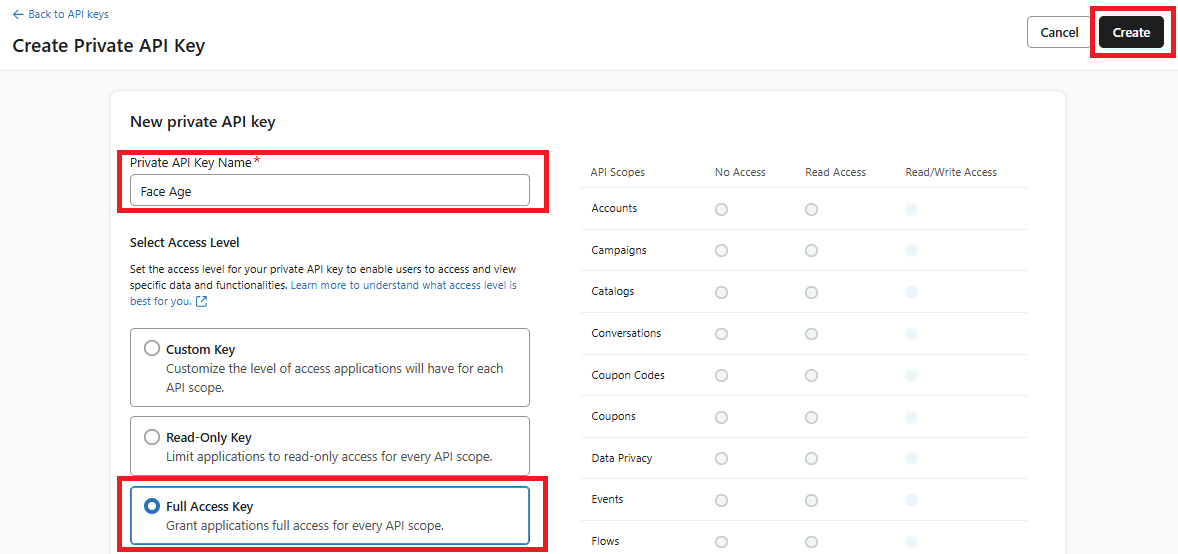
- Copy the generated key and paste it into the second box in the Klaviyo integration section of Face Age.
Click Next to proceed.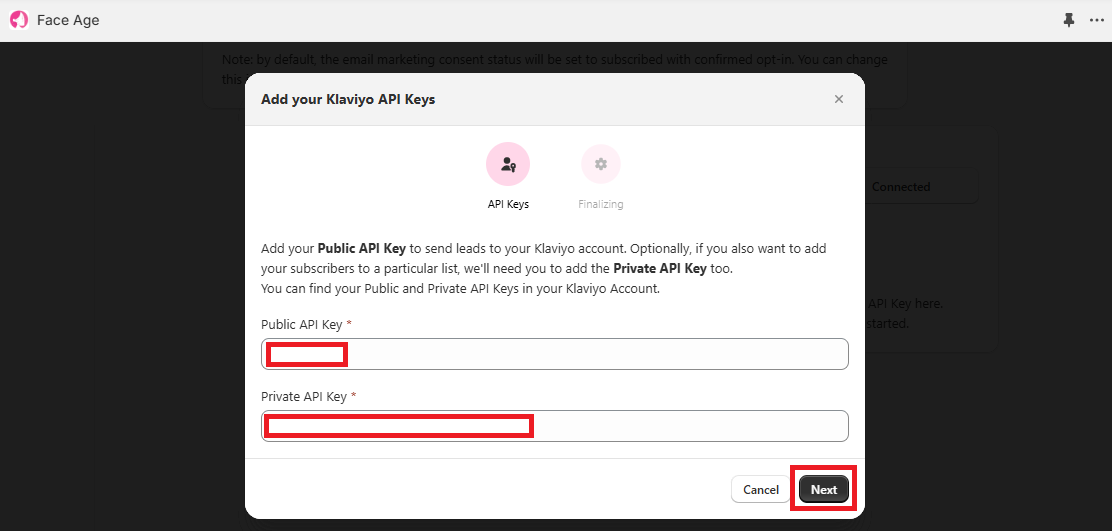
Step 2: Add a Test Email
In the next step, you need to provide a test email. It is recommended to use your own or your business email to ensure the testing process runs smoothly.
You will see a warning asking you to create a flow in Klaviyo before proceeding.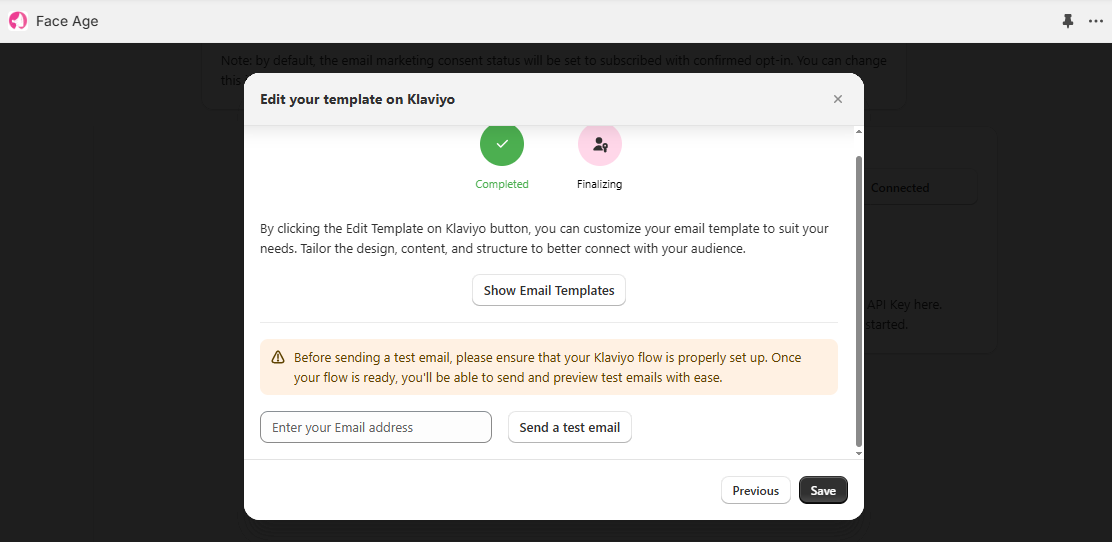
Creating a Flow in Klaviyo:
- In Klaviyo, go to Flows from the left sidebar.

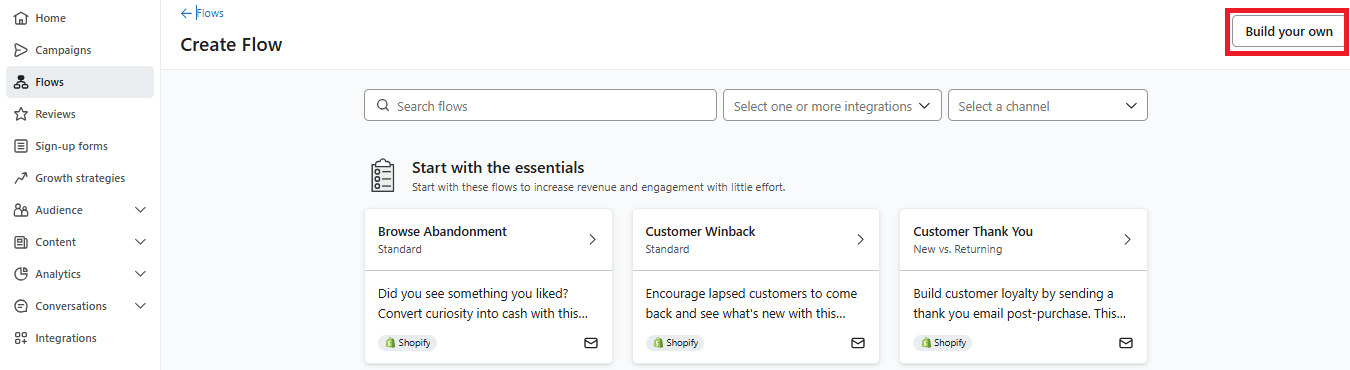
- Click the Create Flow button in the top-right corner.
- Select Build your own, give your flow a name (e.g., “Face Age”), and click Create Flow.
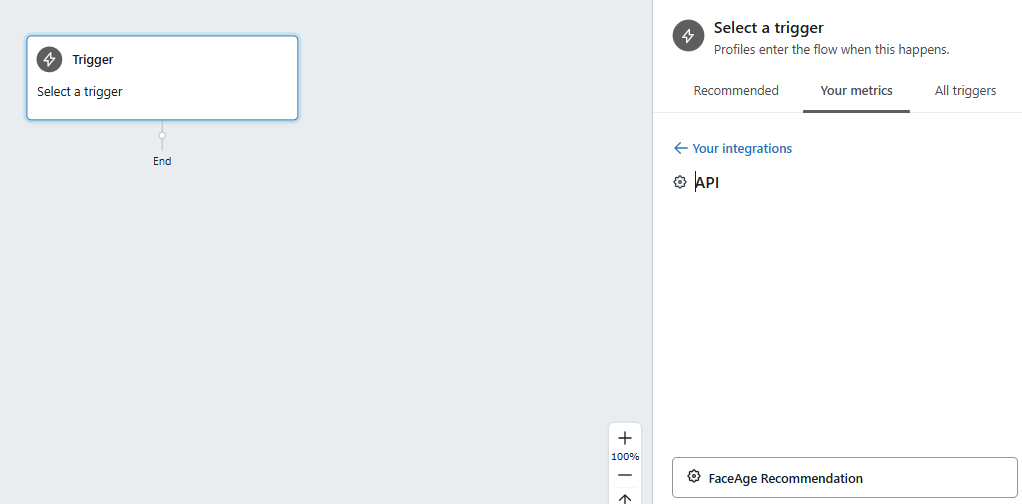
- In the new flow page, click Metrics from the right sidebar and select API.
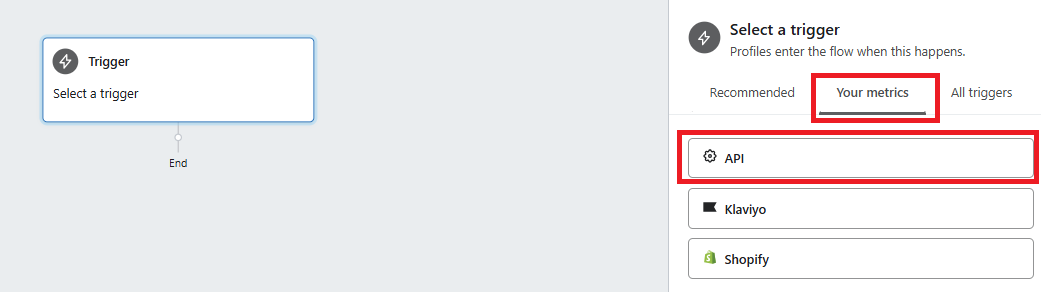
- From the list, choose Face Age Recommendation, click Save, and confirm the changes.
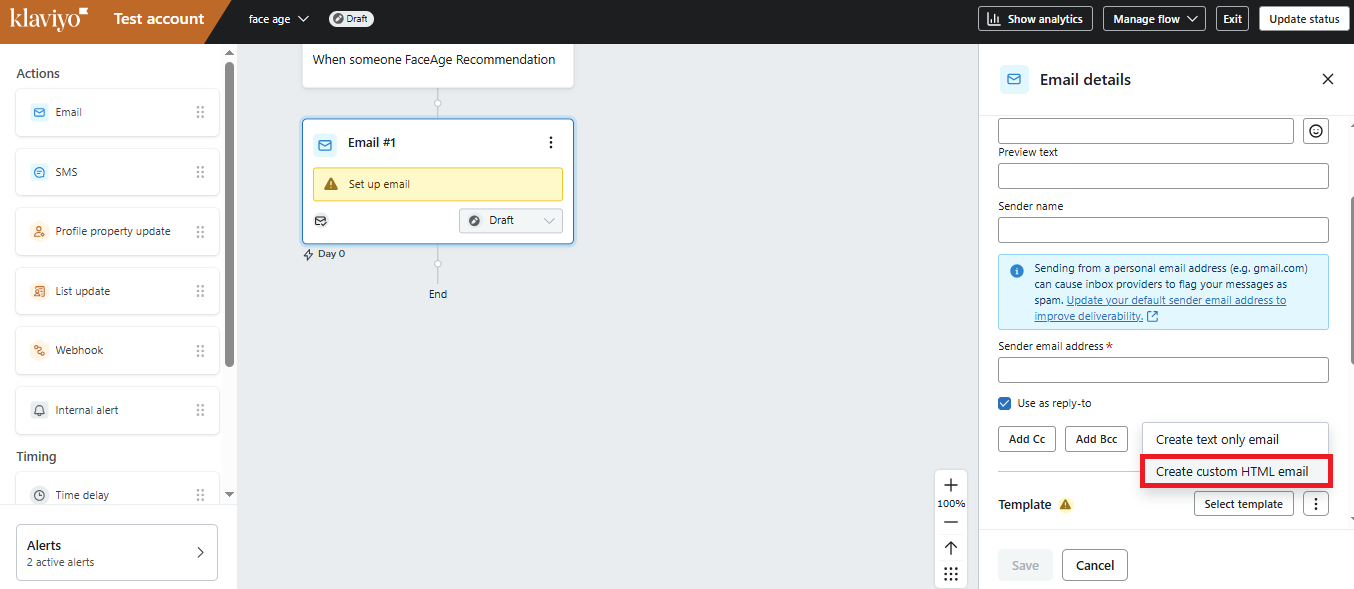
- Drag an Email block to the center of the flow and click on it to edit.
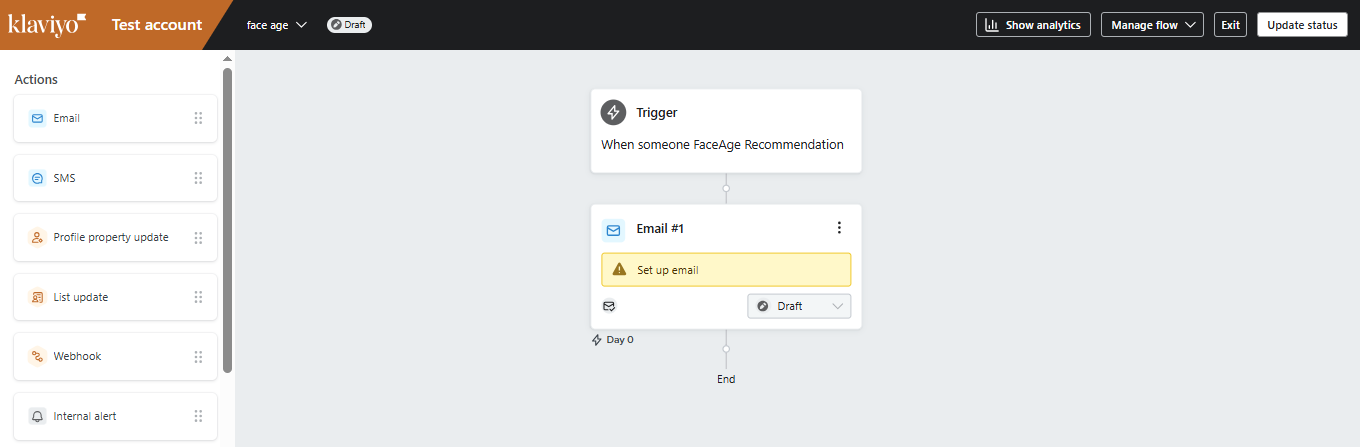
- From the right sidebar, adjust details like the subject line, sender name, and settings for duplicate email prevention.
- Under Select Template, choose Create HTML Template.
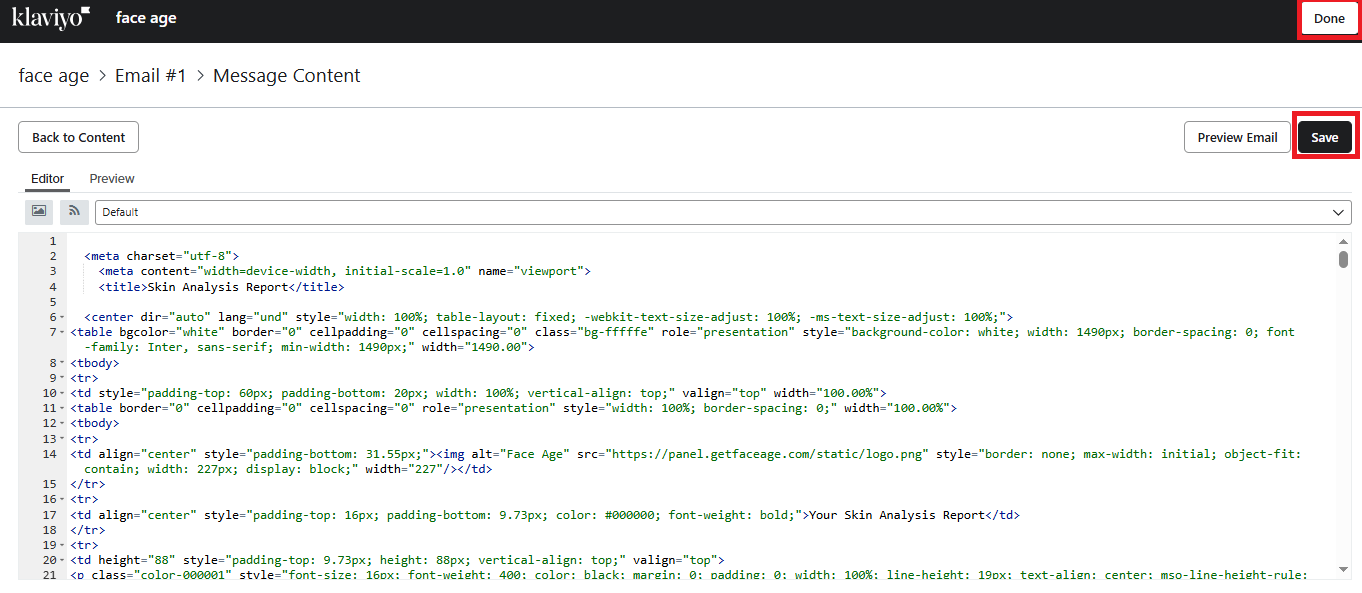
Adding the HTML Template:
- Return to the Face Age Shopify page and click Show Email Template.

- Copy the provided HTML code and go back to Klaviyo.

- Delete the existing code in the template editor and paste the copied code.
- Save the template and click save and Done.
- Change the status from Draft to Live and ensure all changes are saved.

- If you modified details like the subject line, reapply them before saving.
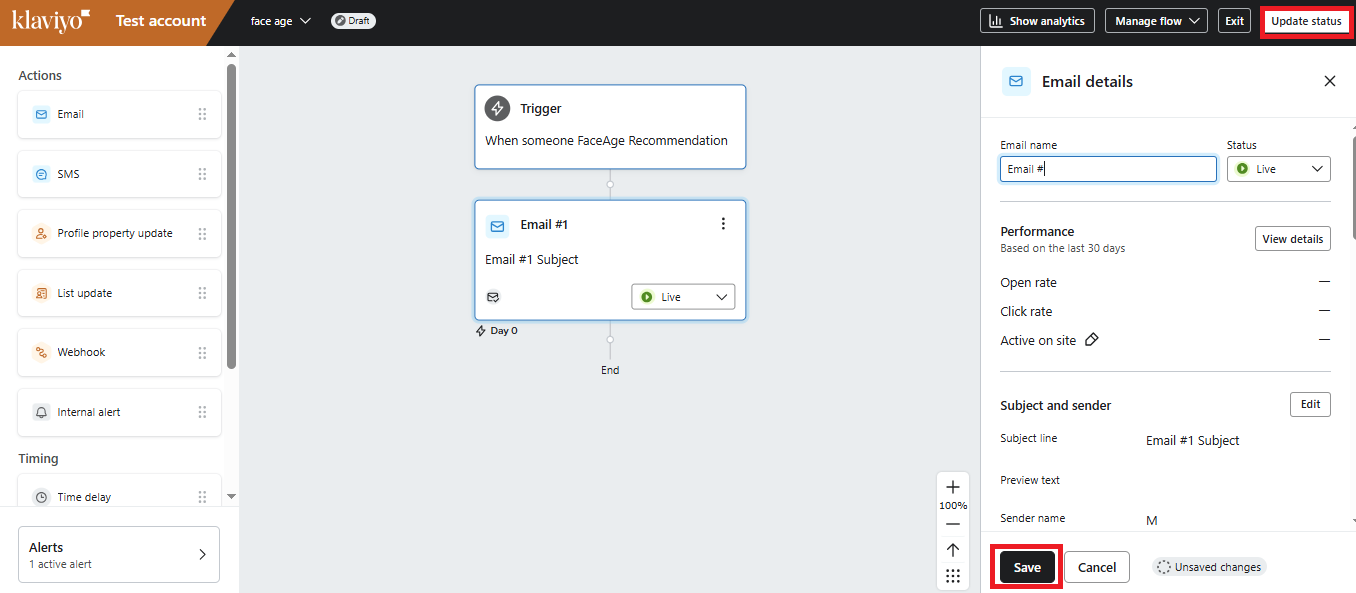
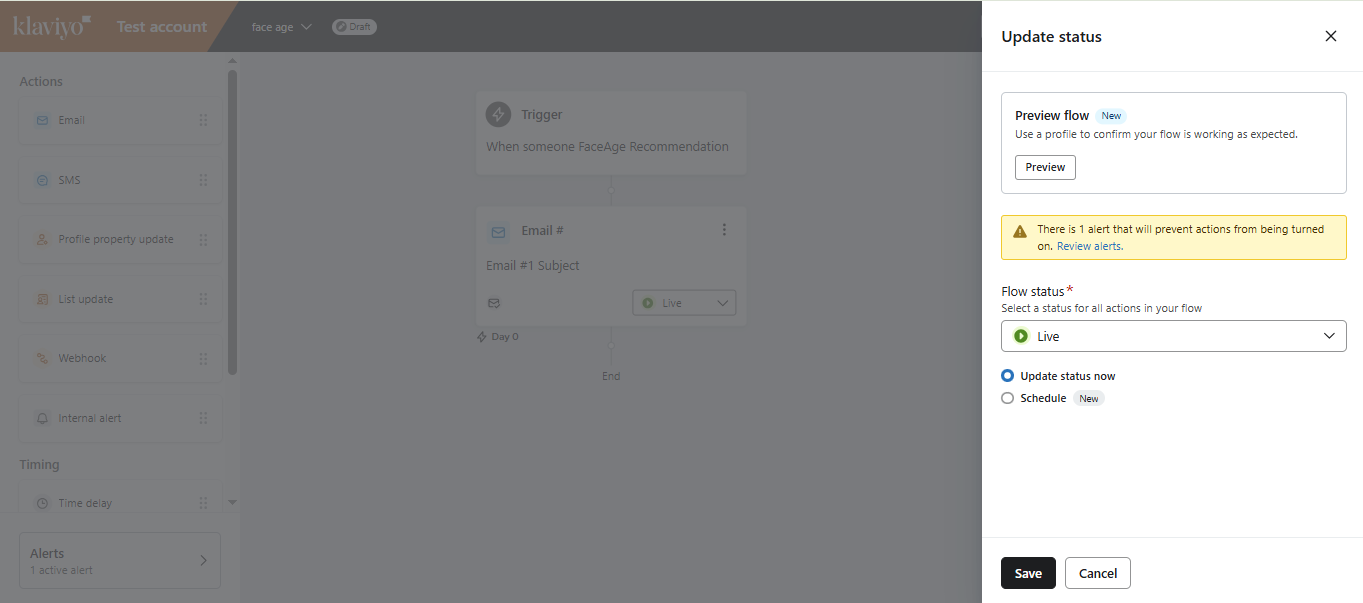
- Finally, click Update Status from the top menu and set the flow status to Live.
Step 3: Test and Finalize
Return to the Face Age Shopify page and enter your test email.
- Click Send a Test Email to ensure the email is received correctly.
- Once the email is successfully received, click Save.
- Wait for the system to complete the connection process. When the Connect button changes to Connected, the setup is complete.
Section 3: Google Analytics
To integrate Face Age with Google Analytics, go to the Integration page and click on the third box.
In the pop-up box, enter your G-Tag. This will connect Face Age to your Google Analytics account.
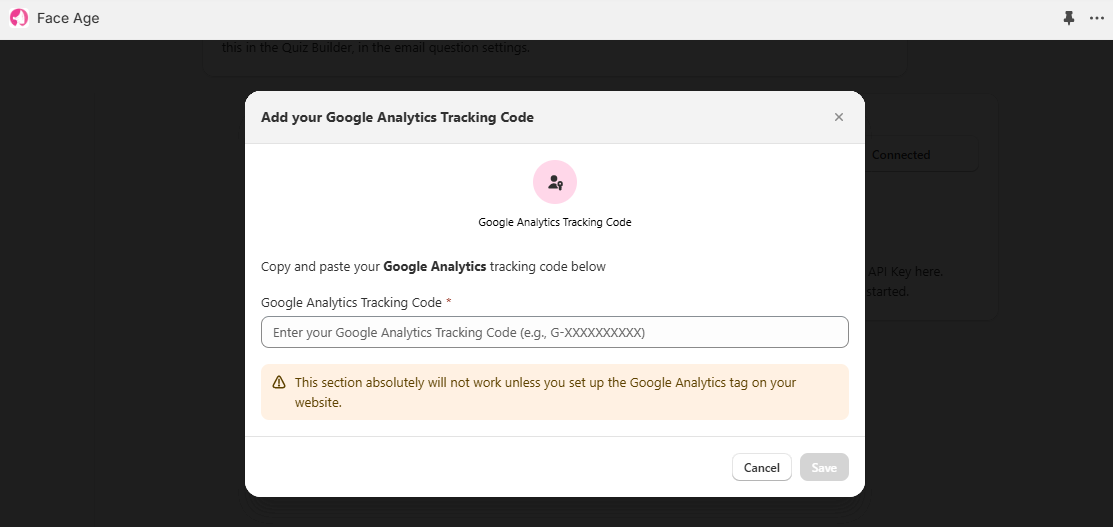
Important Note:
Make sure that the G-Tag is already implemented on your website. Without it, the integration will not work.