Customization
In this section, you can edit all parts of Face Age to suit your preferences. At the top of this section, you’ll see 5 tabs: Basic, Routine, Template, Language, Integrations & Connect to CRM.

Basic
Feature Management

you can decide whether to show questions before the analysis, display products after the analysis, and whether or not to show the recommended skincare routine following the analysis.
limitation
Through the Limitation section, you can select 2 limits and a condition.
- Through the first box, you can determine how many products to recommend to your customers in general.

- Through the second box, you can determine how many products to recommend for each skin problem.

- And the third section includes the prioritization of the suggestions. For example, you have 10 products for a skin problem such as dark circles under the eyes, but you have set the product limit to 2, which means that Face Age can only recommend 2 products for the problem of dark circles under the eyes. But which 2 products should it choose out of 10 products?
Through the third box, you can select this prioritization in 8 ways:
- The newest product
- A product that is dedicated to a smaller number of skin problems
- A product that is general and is connected to a large number of skin problems.
- Based on the letters of the alphabet
- Based on the most expensive or cheapest
- And randomly

Problem Support

The problems support is related to the issues you want to track. This means that a list of conditions Face Age can detect through facial analysis is provided, and you can choose to include or exclude specific issues, deciding if Face Age should detect and display them or not.
Routines Support

You can choose which items to display or not to display in the routines section.
How to receive images
In this section, you can choose how users can import their image to be analyzed with Face Age.
Privacy Policy
In this box, you can place a link explaining the legal issues, and this link will be displayed in the pre-analysis section.

Routine
The second tab in the Customization section is the Routine tab.
From this section, you can personalize your routine. Adjust the titles, texts, and their order as you prefer, or add new items.
 The first section in the routine section is the description.
You can add descriptions for the morning or evening routine and guide users.

By hovering your mouse over each section, you will see three icons.

The first icon is for editing that section.

Type your desired text in the Title and Description fields, and specify whether this item belongs to the morning routine, the night routine, or both.

The second icon is for deleting that section entirely.

And through the third icon, you can change the order of the items using drag and drop.

To add a new section, use the “Add New” option and fill in the fields.


Routine Banner
In this section, you can add a banner of your choice and set a landing address for it to be displayed at the end of the routine section.

At the end, don’t forget to click the Save button at the bottom or top of the page. Otherwise, your settings will not be saved.
Template
In the Template tab, you can adjust the Face Age platform to align with your brand and enhance user experience with live preview.
Below are the available adjustable components with descriptions.

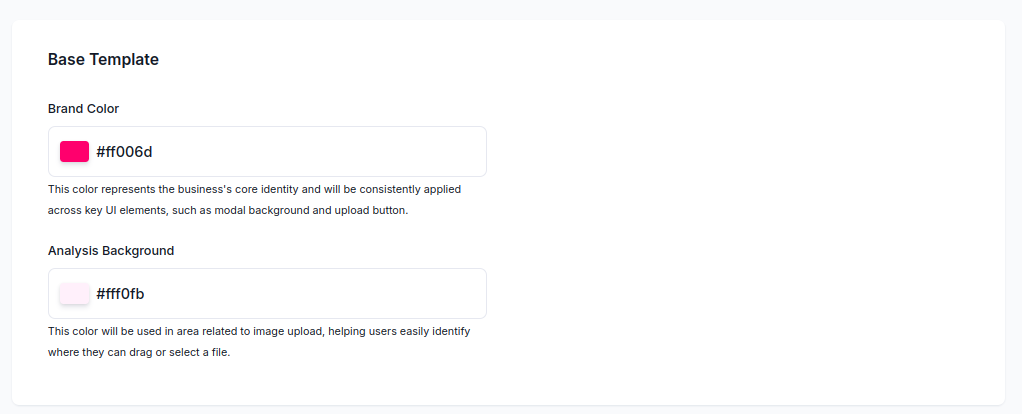
Base Template
Branding is essential for maintaining a cohesive visual identity across the platform. The Brand Color is applied to key UI elements such as modal backgrounds and upload buttons. The Analysis Background defines analysis area’s background, ensuring clarity and ease of use.

Position Accepted
Position Accepted provide visual feedback on the quality and positioning of uploaded images. The Position Accepted Status color, like green, indicates that the face position is correct, while the Position Not Accepted Status, such as red, highlights issues.

Submit Action
The third option, Submit Action Color, allows you to adjust the color of the submit buttons.

Basic Action
Action buttons guide users through interactions with the platform. The Basic Action Color is used for general buttons

Recommendation Description
In this section you can add a description for your suggested products.

This description will be displayed at the top of the products.
Product Cards
In the Product Card section, you can customize how your product cards are displayed.
Product Action Color
Set the color of the Add to Cart button.
Product Border Color
Choose a border color for your product cards.
Border Width
Select the width of the border.
Box Padding
Adjust the inner spacing between the content of the card and its edges.

Product Image Aspect Ratio
To create a visually appealing Recommendation Page and Routine Page, it’s recommended to use consistent product image sizes. You can choose from the following aspect ratios:
1:1
4:3
3:4
2:3
3:2

In the next section, you can select which elements to display or hide on your product card — specifically, the items shown below the product image.
All options are enabled by default, so simply uncheck any you don’t want to appear.

Widget Modal
The widget modal provides quick access to features through a sticky icon. You can customize the Sticky Icon Positioning for both desktop and mobile views, adjusting the bottom and left distances, in px for each.

Discount
If you want to give your users a discount code, you should use this section.
First, create your discount code in your Shopify panel and then copy it into this section.
You can upload a color or image for your discount banner and also include its expiration date.

Finally, once you’re done adjusting all the settings, click the Update button at the bottom to save all changes.
Language

The next tab you can set up new Language for your Face Age quiz and analysis or edit an added language.
Note: Face Age automatically syncs with your site’s language, so if you’re using a single language, you don’t need to use this section. However, if you have multiple languages or want to express certain parts in other languages, you can use this section.

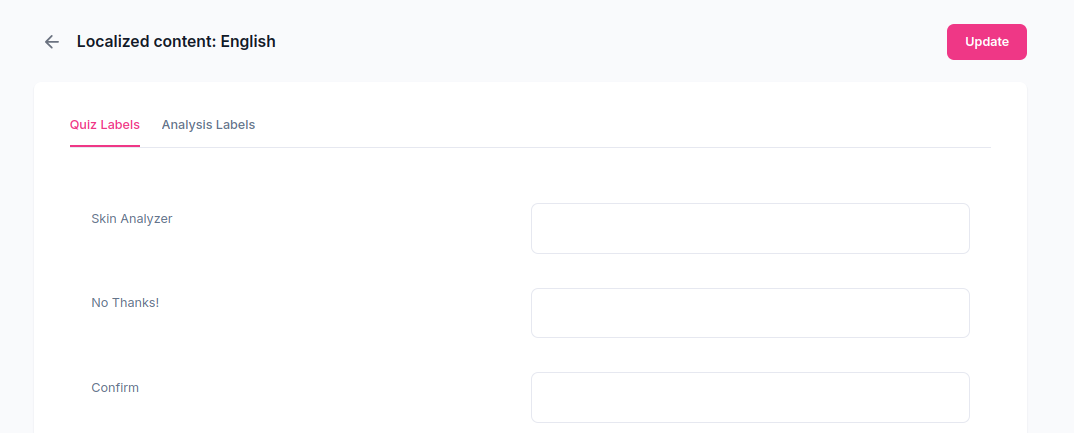
by clicking on a language or new language button you can add translation for quiz and analysis

In the Quiz Labels section, you’ll see the text of all questions along with the responses you’ve entered. Here, you can add your translation in the corresponding box, if a user chooses a different language, they will see the translated questions.
In the Analysis Labels section, you’ll see the text of all labels that are in analysis interface. Here, you can add your translation in the corresponding box, if a user chooses a different language, they will see the translated questions. Also, the texts included in the PDF of skin problems are also in this tab. Use this section to change or translate to the desired language.
Don’t forget to click the Update button in the Translation section to apply your changes.

