Integrations
Integration
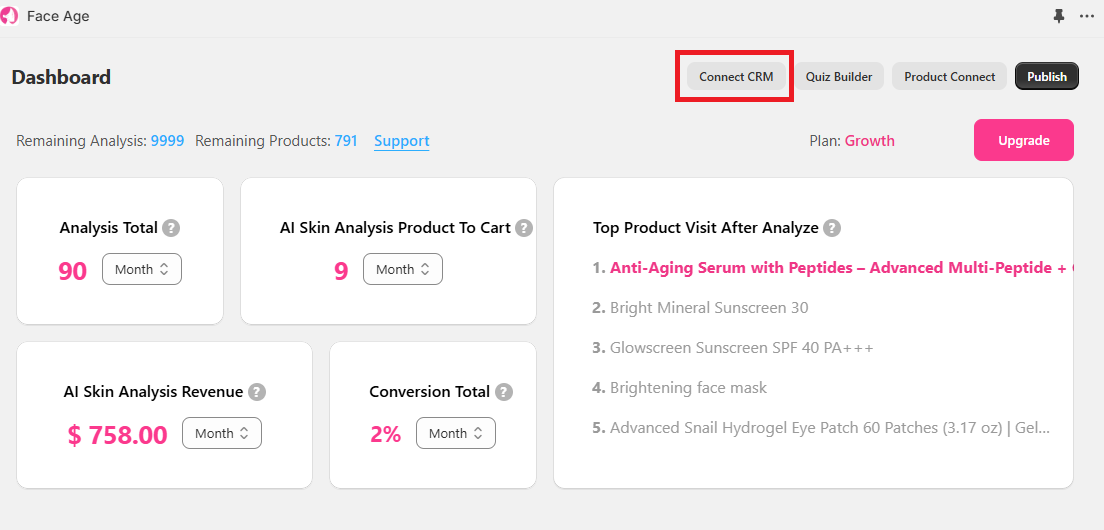
To access the Integrations section of Face Age, you can either go through the main page and click on the Connect CRM button, or navigate from the left sidebar to the Customization section and open the Integrations & Connect CRM tab.
Here, you will see 8 boxes:
Basic Email
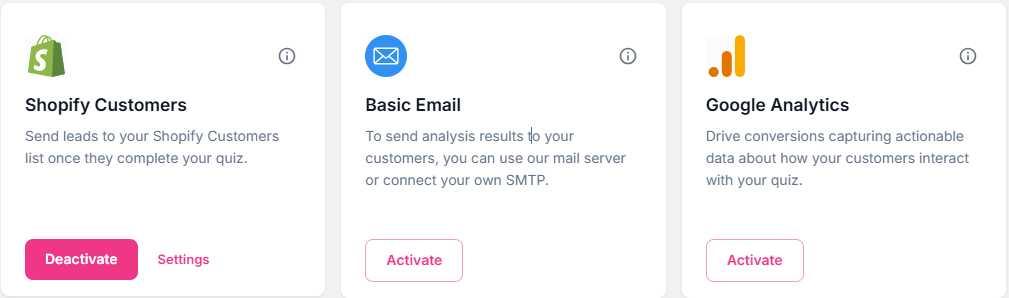
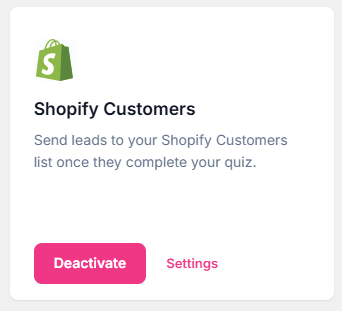
Section 1: Shopify Customers
In the Shopify Customers tab, click the Active button to establish the connection. This will connect Face Age to your customer section so you can see the information of people who have entered their email and completed the analysis and send customized emails to these people using the next steps.
In this way, in the Shopify customer section, each registered email will be displayed with skin problem tags.
Section 2: Basic Email
Through Basic Email, you can automate sending analysis results to your users.
You can use the Face Age server or import your own SMTP.
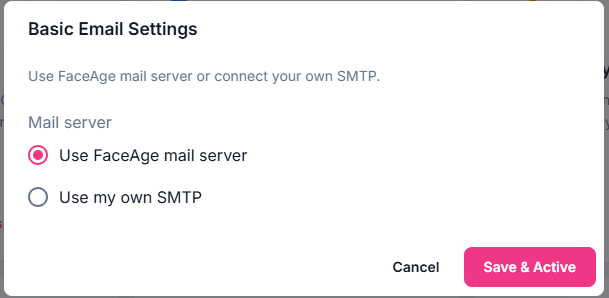
Note: that if you are using Klaviyo or MailChimp and have already integrated, you will not be able to use Basic Email and to use it, you must first deactivate the integration between Face Age and Klaviyo or MailChimp.
To integrate Face Age with Google Analytics, go to the Integration page and click on the First box.
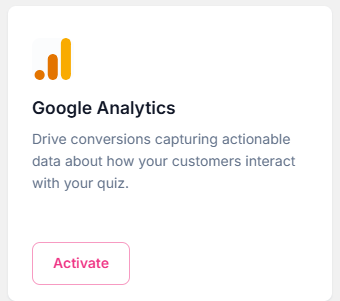
In the pop-up box, enter your G-Tag. This will connect Face Age to your Google Analytics account.Important Note:
Make sure that the G-Tag is already implemented on your website. Without it, the integration will not work.
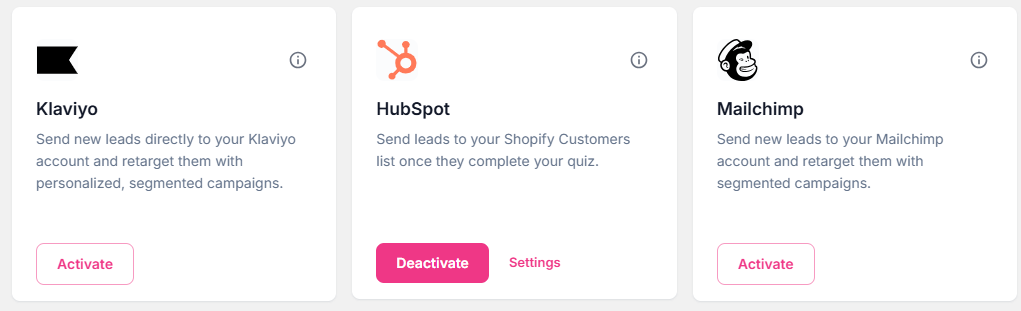
1: Connect to Klaviyo
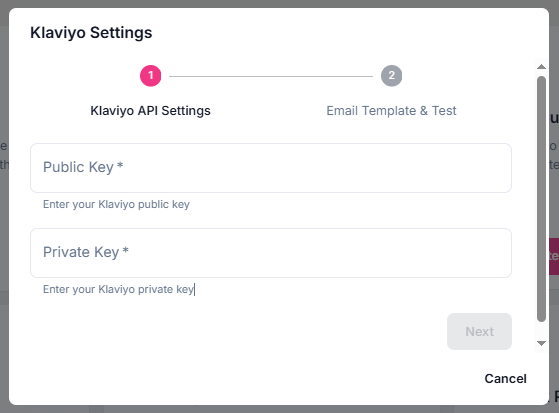
Switch to the Klaviyo tab and click Connect.
A box will appear asking for two API keys.
- Log in to your Klaviyo account.
- From the left sidebar, go to Settings (last option).
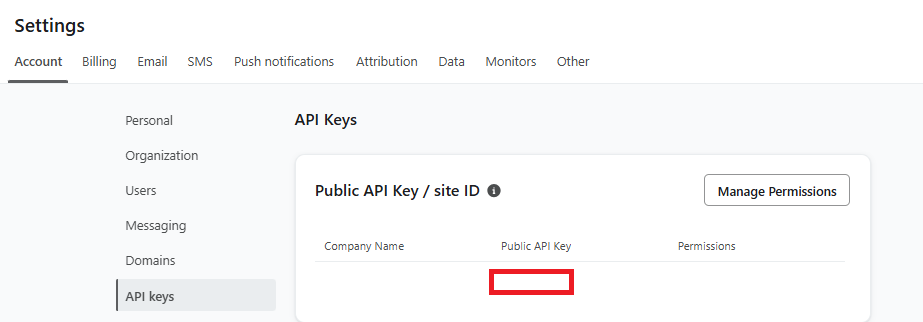
- Under Settings, click API Keys in the left sidebar.
- Copy the Public API Key from the first box and paste it into the corresponding field on the Face Age Shopify page.
- For the Private API Key, go back to Klaviyo and click Create Private API Key.
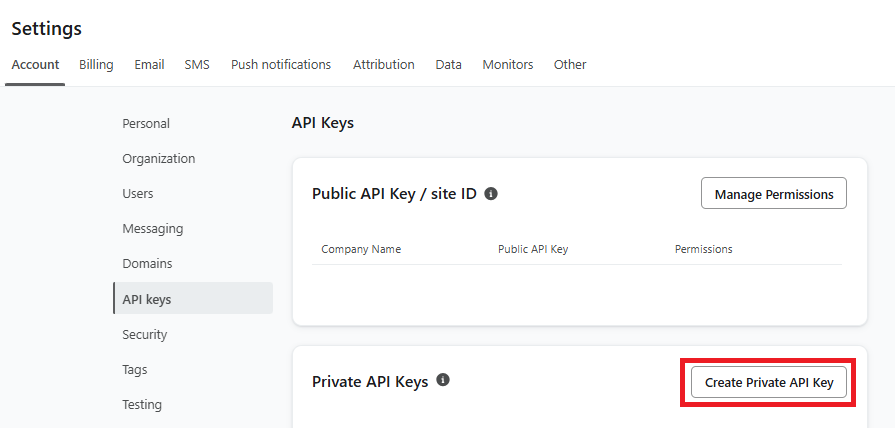 Name the key, for example, “Face Age” or any name you prefer.
- Choose Full Access from the options and click Create.
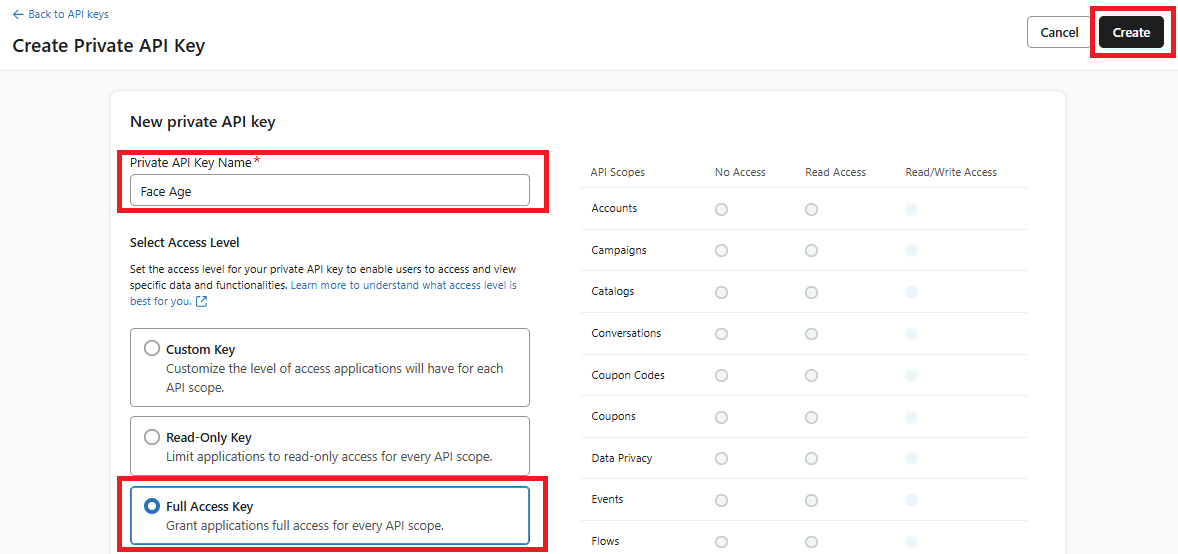
- Copy the generated key and paste it into the second box in the Klaviyo integration section of Face Age.
Click Next to proceed.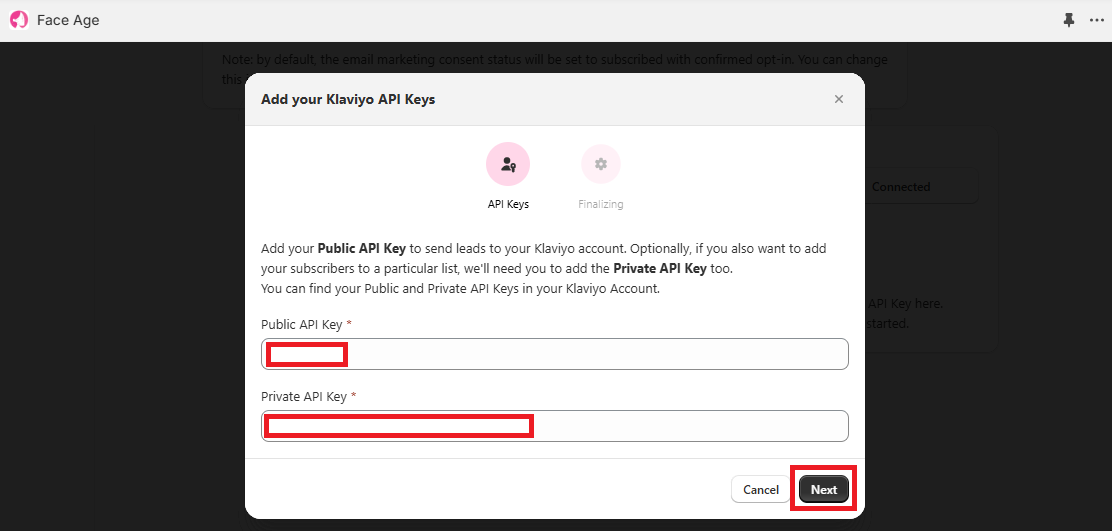
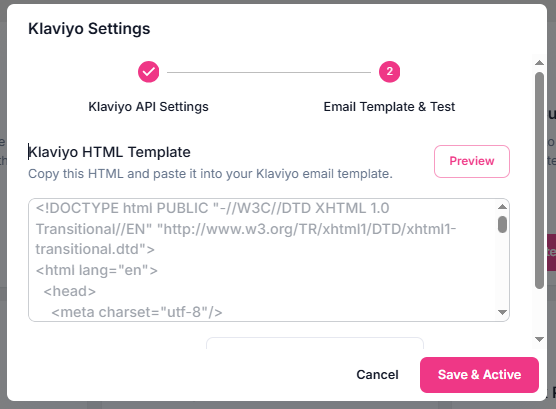
Step 2: Add a Test Email
Copy the HTML code and go back to klaviyo to create a flow.
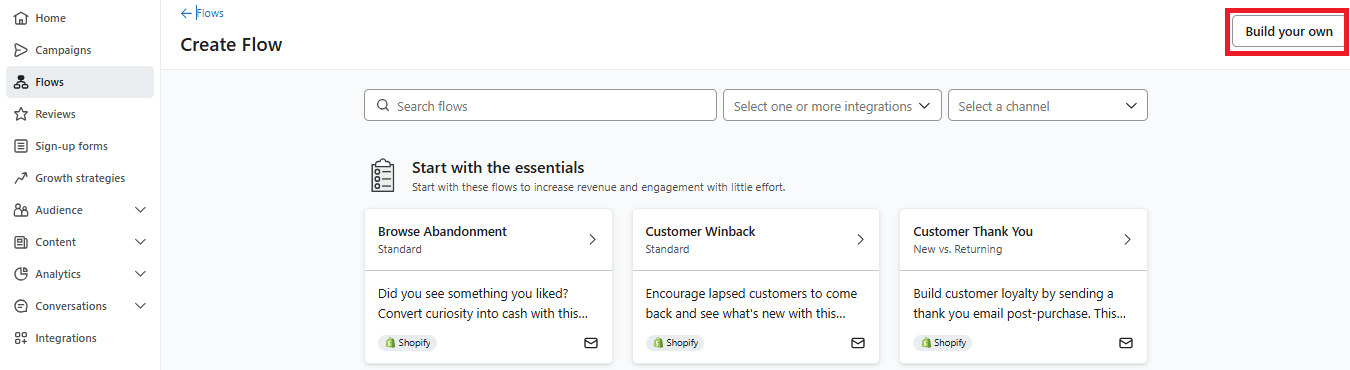
Creating a Flow in Klaviyo:
- In Klaviyo, go to Flows from the left sidebar.

- Click the Create Flow button in the top-right corner.
- Select Build your own, give your flow a name (e.g., “Face Age”), and click Create Flow.
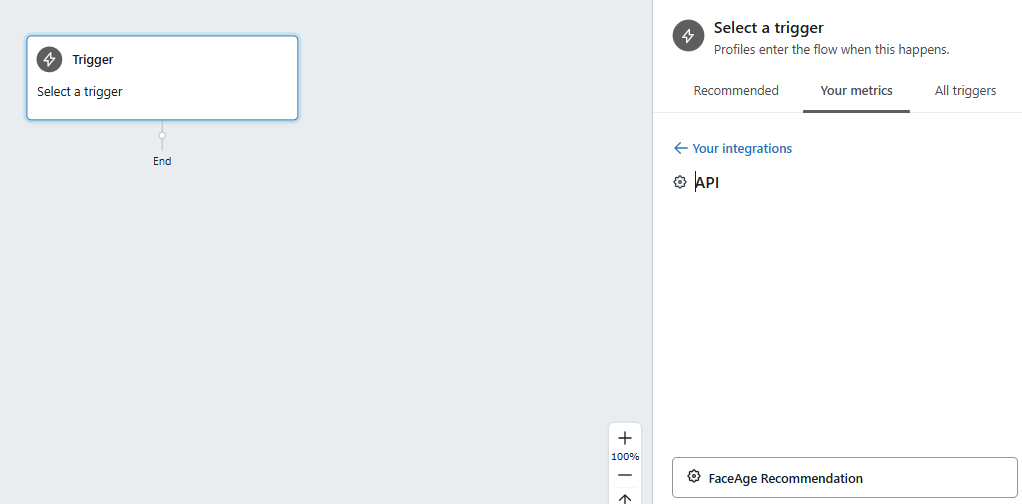
- In the new flow page, click Metrics from the right sidebar and select API.
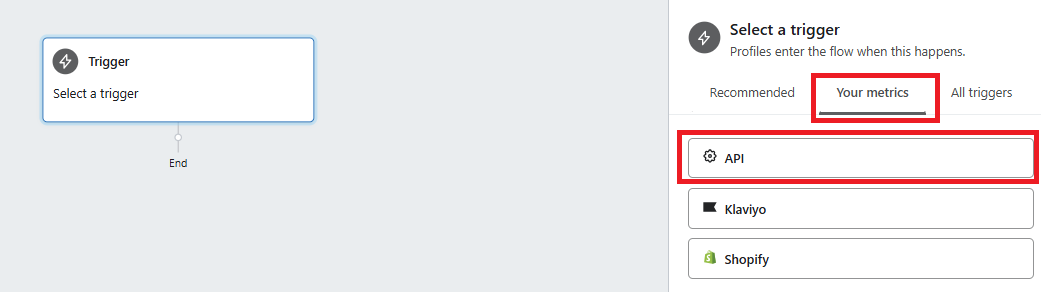
- From the list, choose Face Age Recommendation, click Save, and confirm the changes.
- Drag an Email block to the center of the flow and click on it to edit.
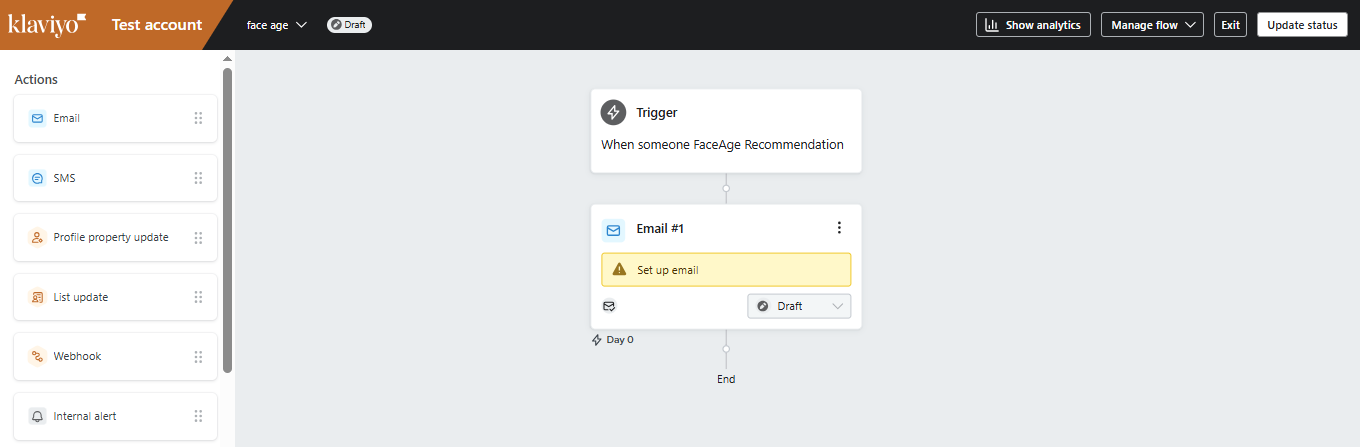
- From the right sidebar, adjust details like the subject line, sender name, and settings for duplicate email prevention.
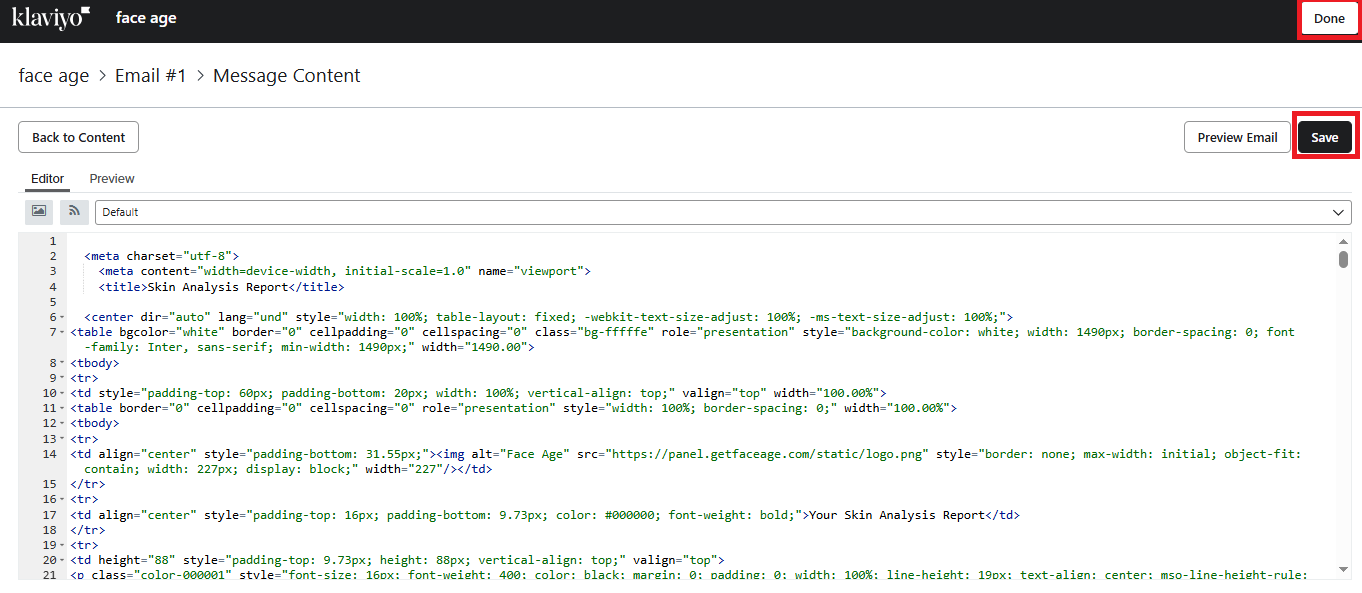
- Under Select Template, choose Create HTML Template.
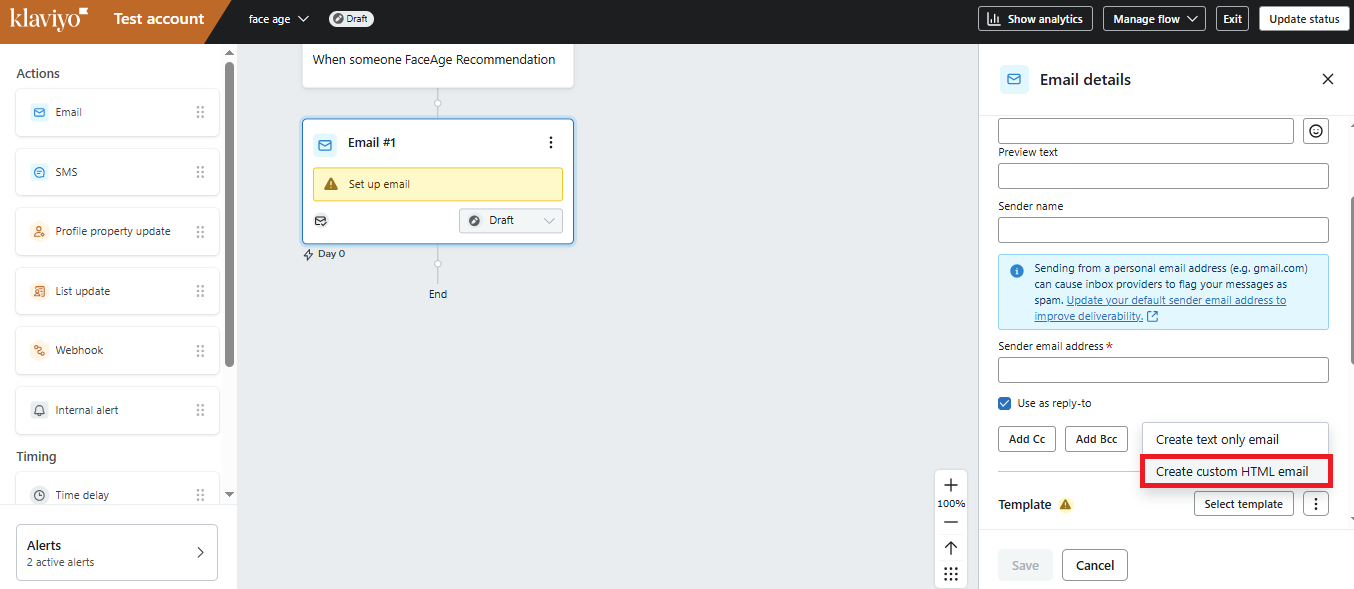
- Delete the existing code in the template editor and paste the copied code.
- Save the template and click save and Done.
- Change the status from Draft to Live and ensure all changes are saved.

- If you modified details like the subject line, reapply them before saving.
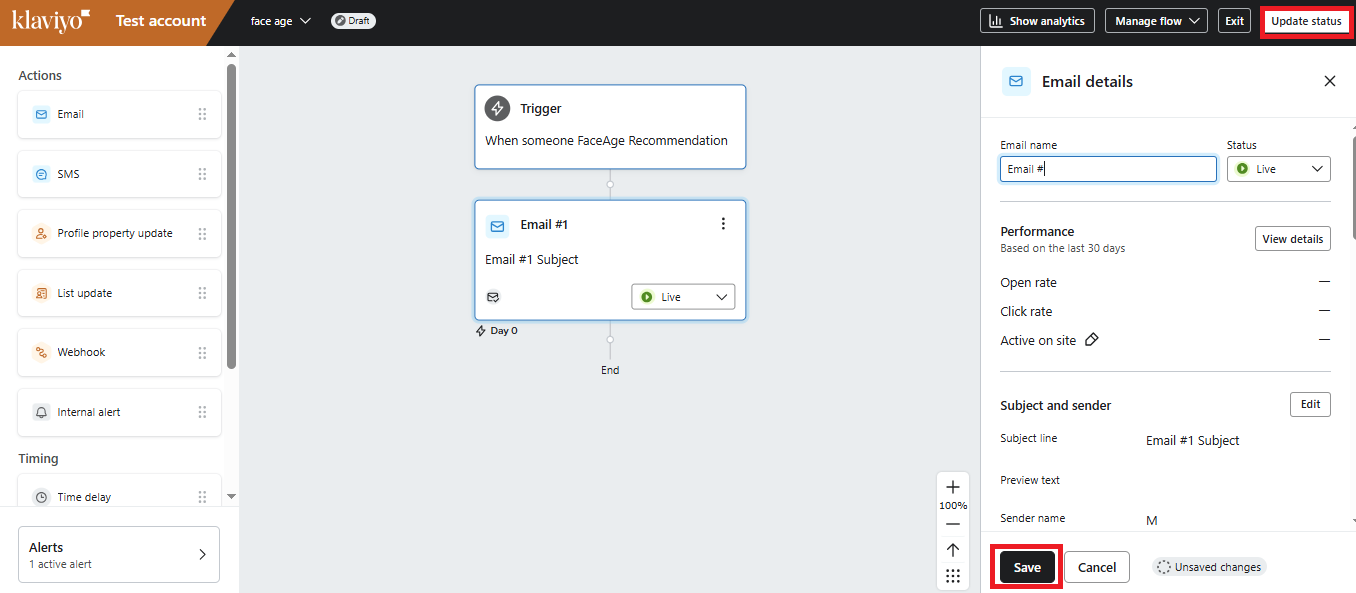
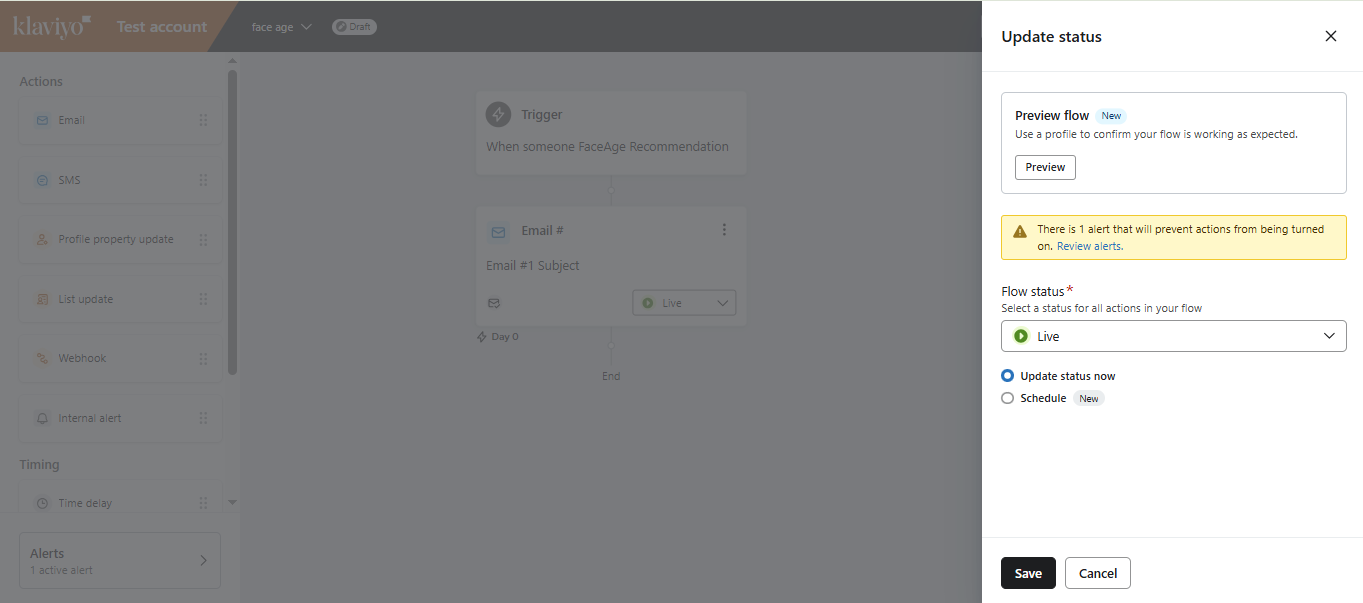
- Finally, click Update Status from the top menu and set the flow status to Live.
Step 3: Test and Finalize
Return to the Face Age Shopify page and enter your test email.
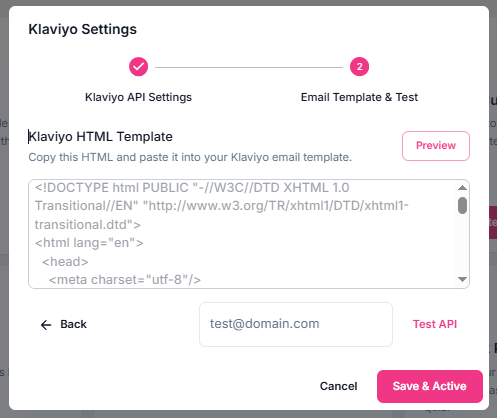
- Click Test API to ensure the email is received correctly.
- Once the email is successfully received, click Save & Active.
Section 5: HubSpot
By connecting Face Age with HubSpot, you can transfer the leads captured by Face Age into your HubSpot account and use them as a segment in your workflows.
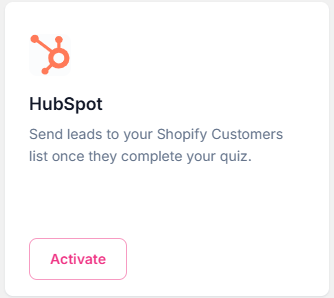
To connect HubSpot and Face Age, click on the Activate button. You will be redirected to a new page where you can log in to your HubSpot account or create a new one.
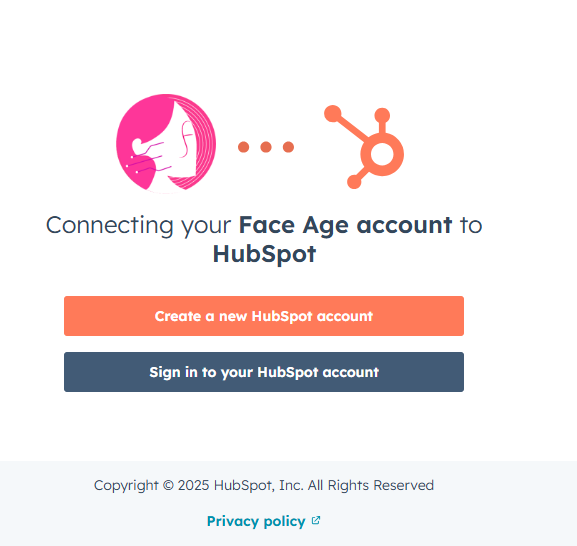
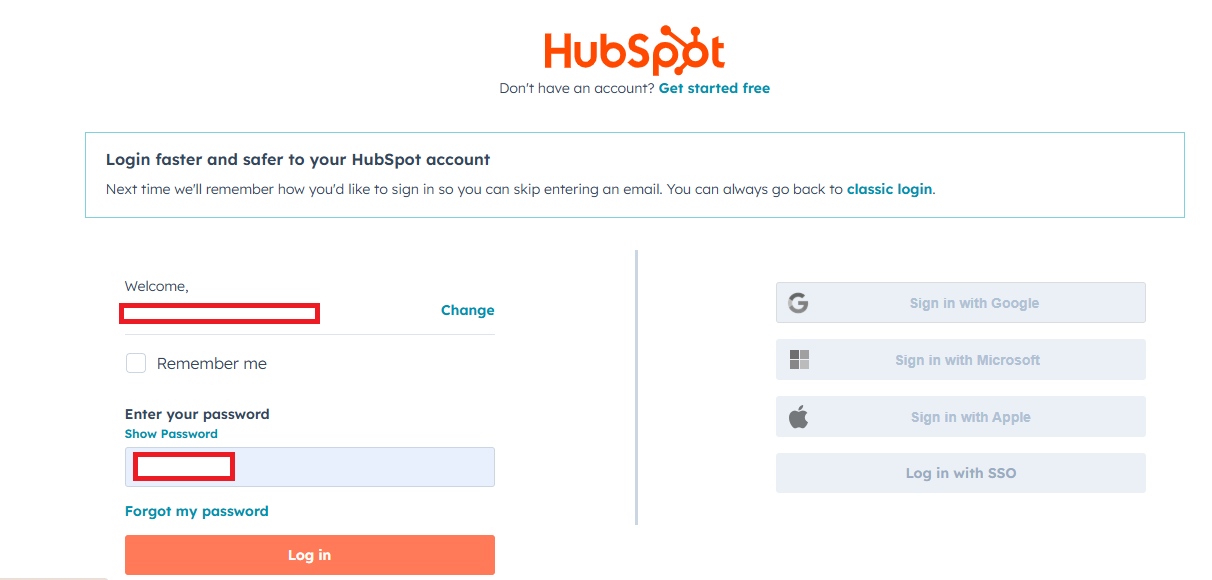
If you already have a HubSpot account, click on Sign in to your HubSpot account,
enter your username and password,
on the next page, check the box for Face Age, click Choose Account,
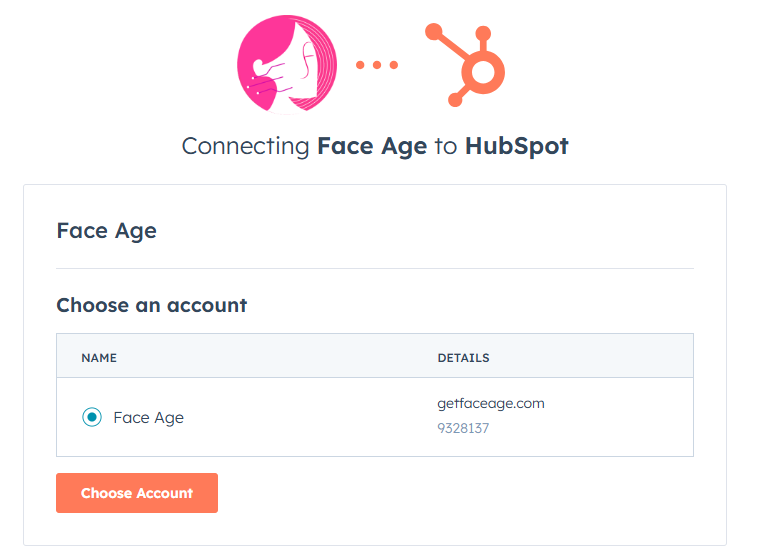
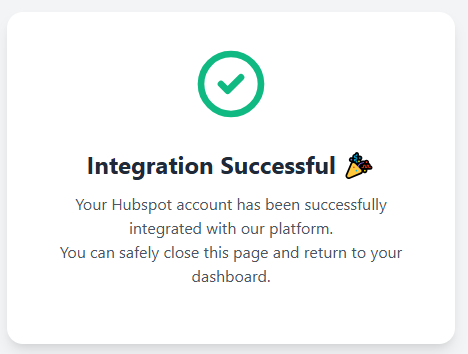
and wait until you see the integration activation message.

Return to your Shopify panel, refresh the page once, and your integration will be active.
Section 6: Mailchimp
If you already have a Mailchimp account, follow these steps:
To activate the Mailchimp integration, click on the Activate button.
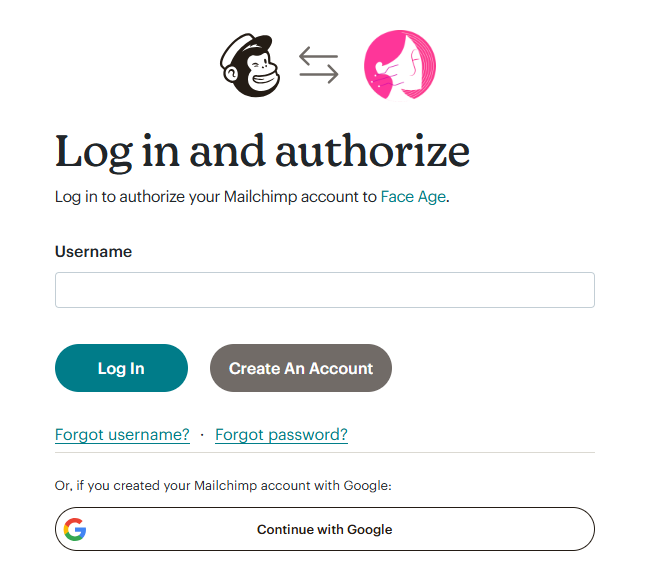
Enter your username and click Log In.
Enter your password and click Log In again.
On the new page, click Allow
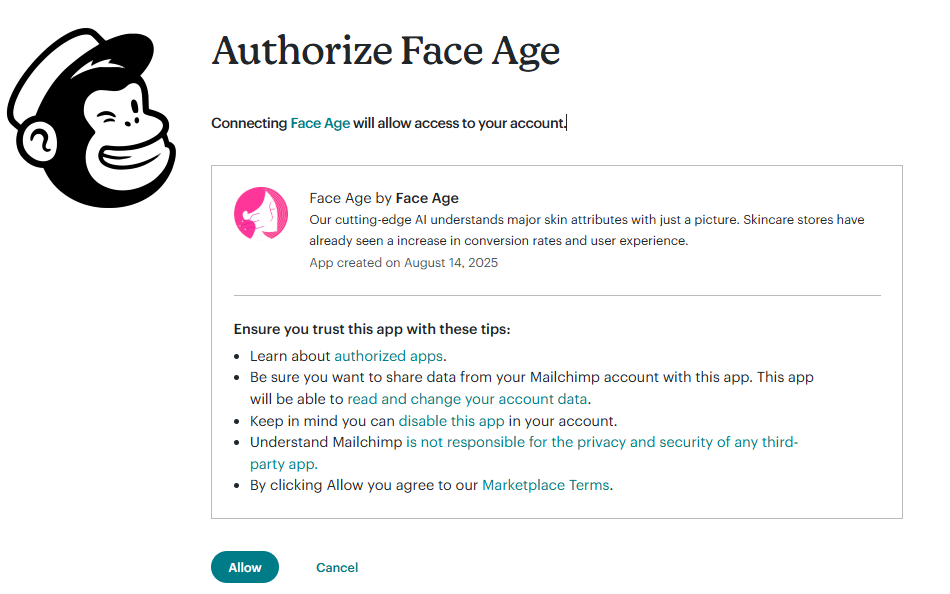
and wait for the integration activation message to appear.
Go back to your Shopify panel, refresh the page, and you’ll see that the integration is active.
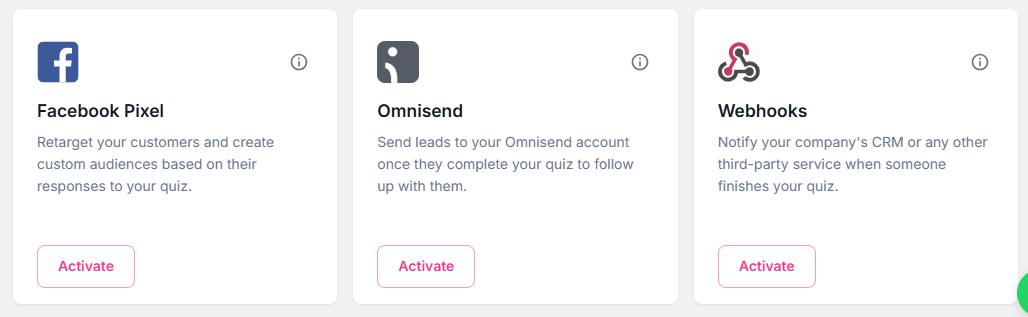
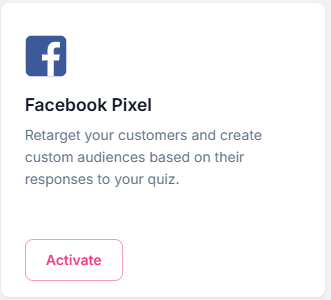
Section 7: Facebook Pixel
If you already have a Facebook Pixel account, follow these steps:
Click the Activate button.
Enter your Facebook Pixel ID.
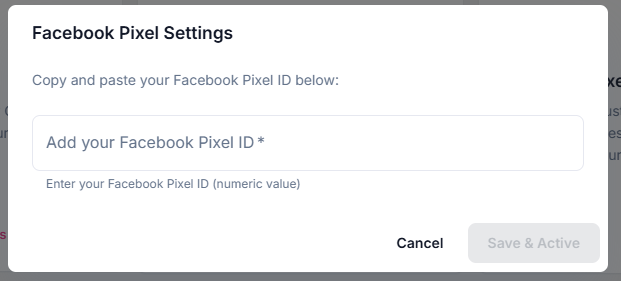
Click Save & Activate. Refresh the page once, and you’ll see the activation completed.
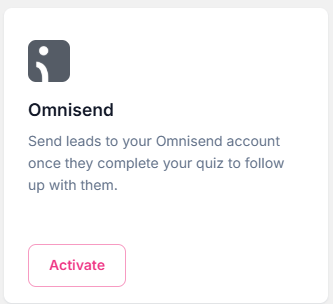
section8: Omnisend
To integrate Face Age with your Omnisend account, click on the Activate button.
In the box that appears, you’ll need to enter your API Key.
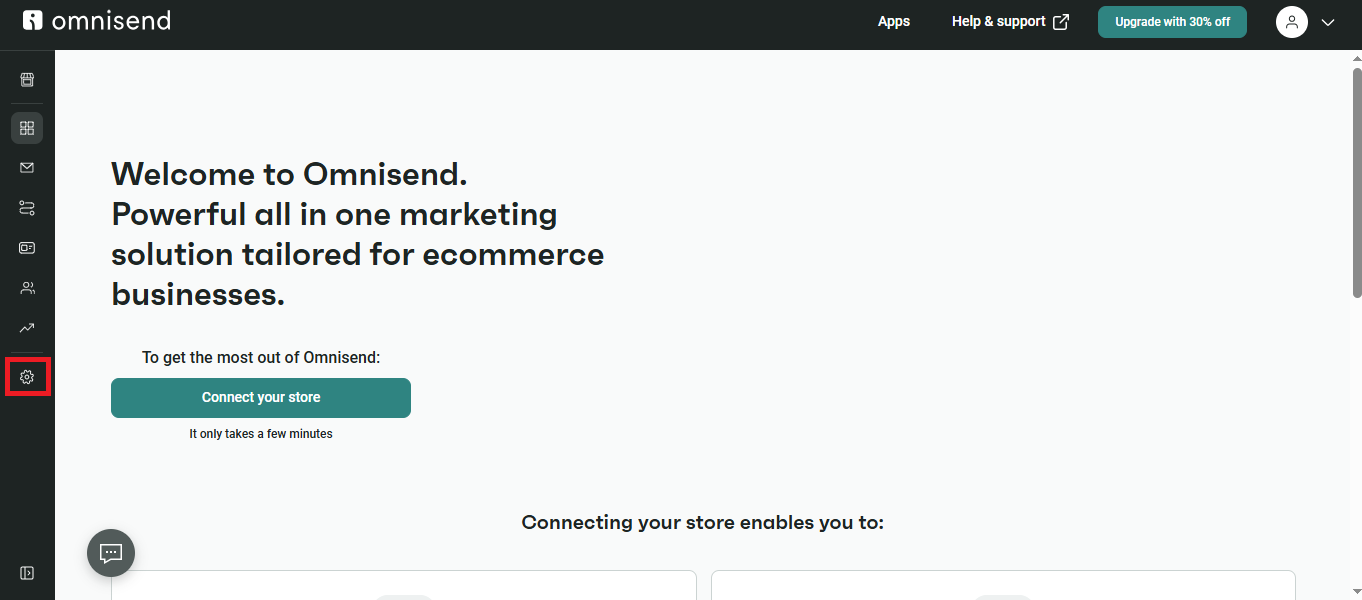
To get it, click on Omnisend Account,

enter your username and password, and click Log In.
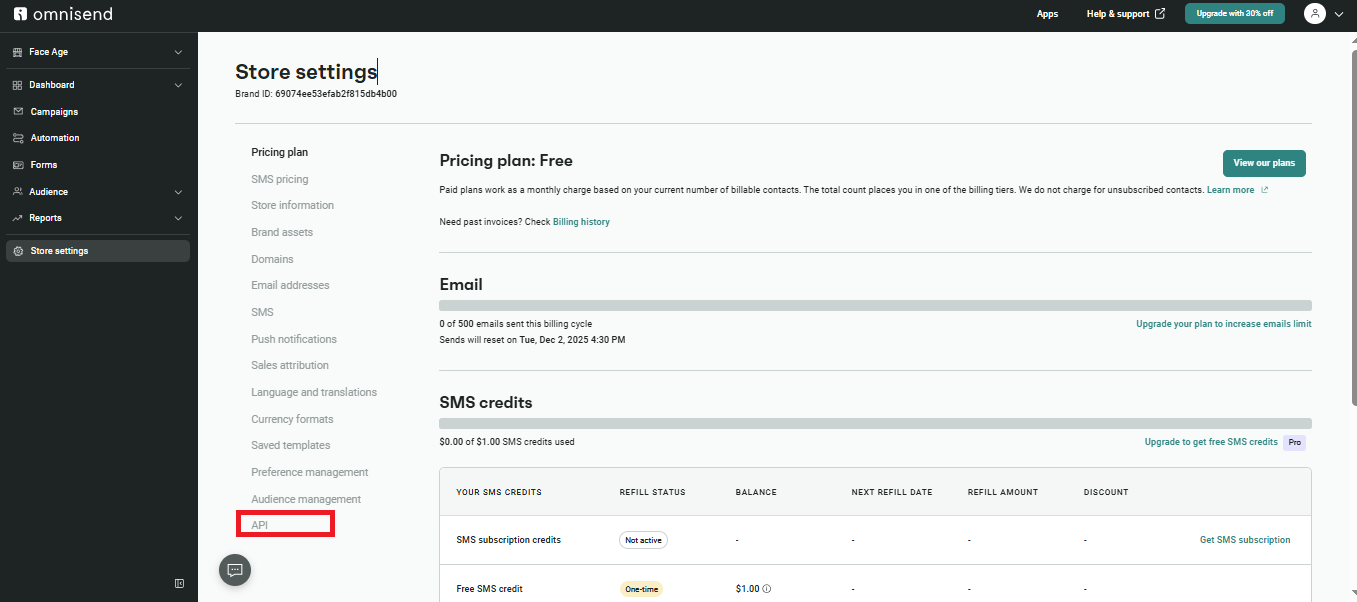
From the left sidebar, go to Store Settings.
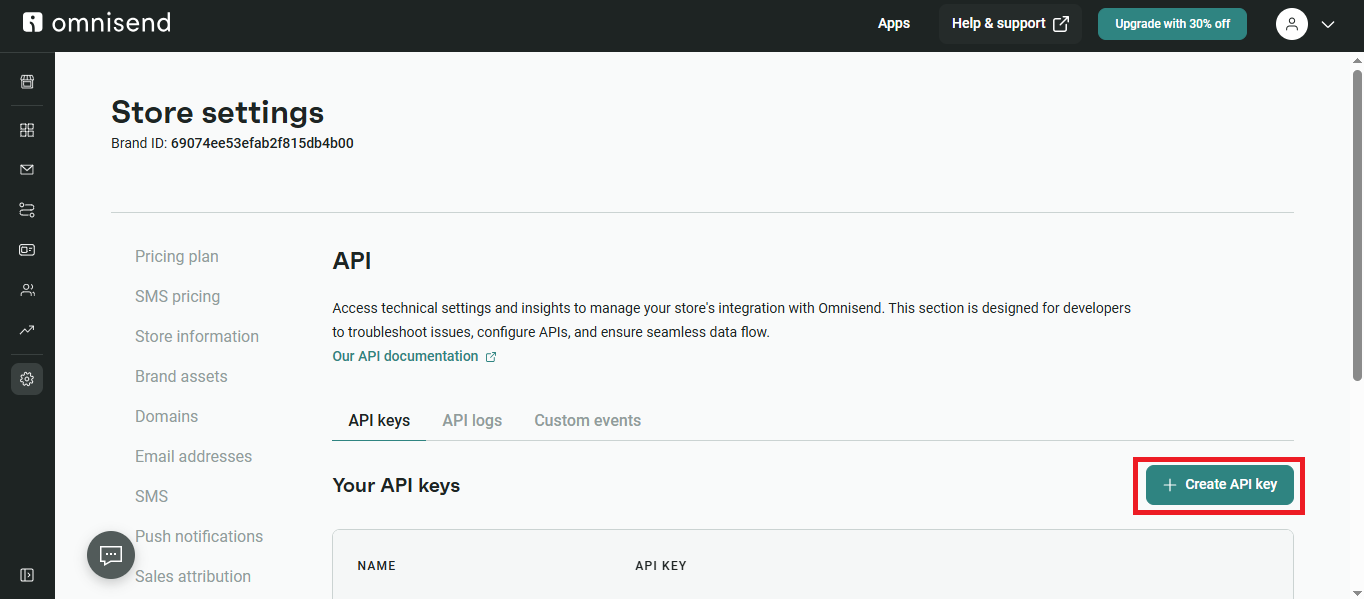
In the left menu, select API.
On the page that appears, click Create API Key.
Enter a name for your API key, for example, Face Age.
Scroll down and click Create API Key.
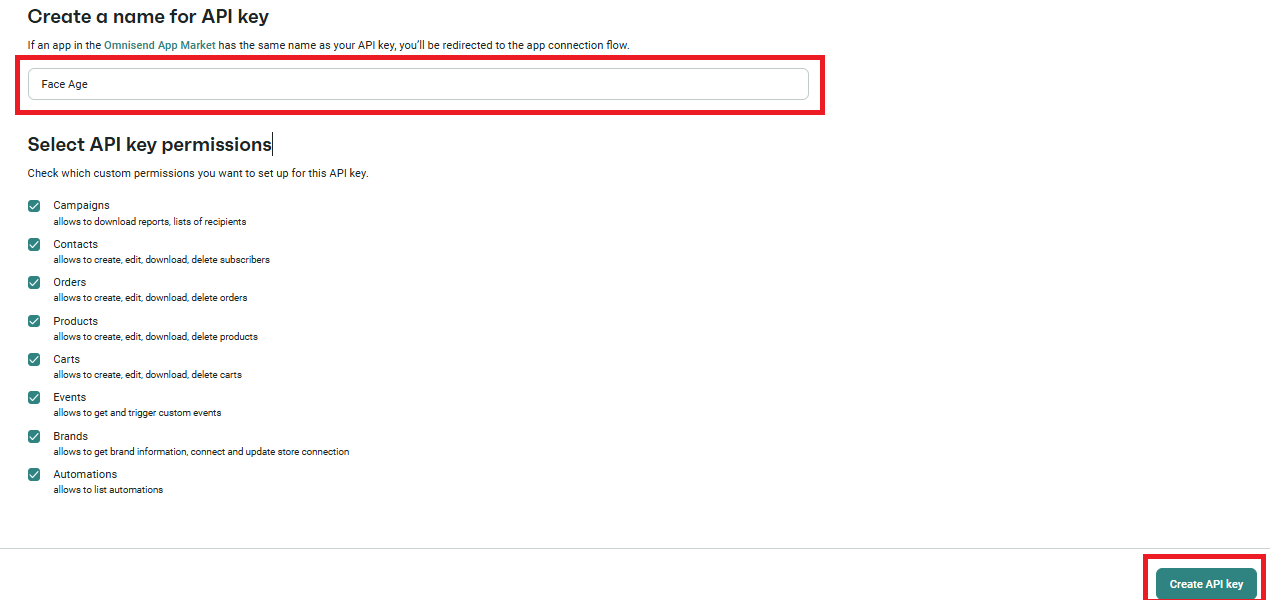
Copy the generated code.
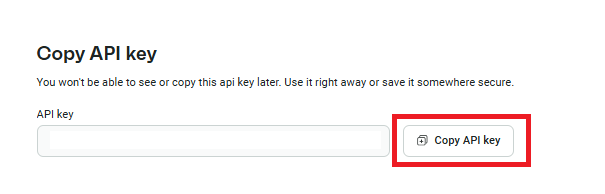
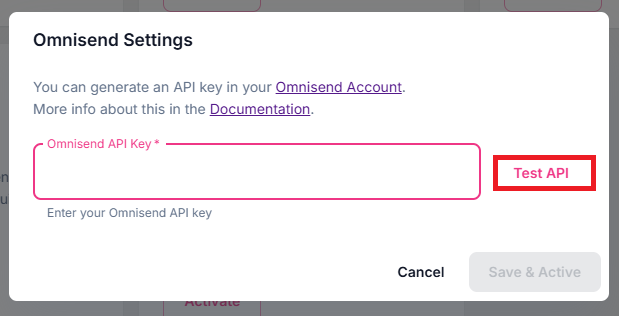
Return to your Shopify panel and paste the code into the box.
Click Test API.
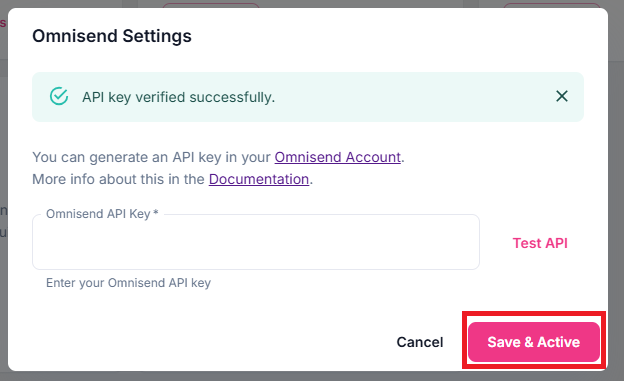
Once you see the Verify API message above the box,
click Save & Activate.
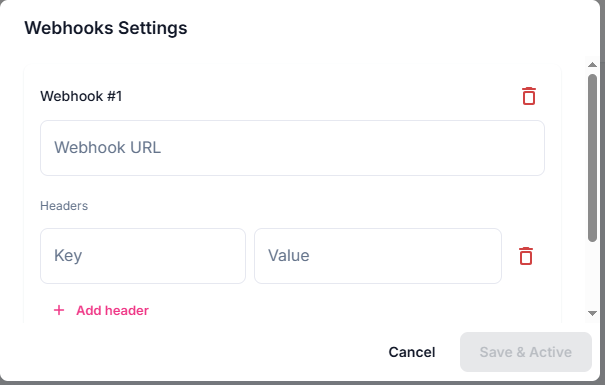
Section 9: Webhook

If you are a developer and need to use Webhooks, you can use the Webhook integration to send requests to your APIs after each skin analysis and receive the analyzed data directly into your custom API.